how to clean an oil painting
Traditional wooden palettes for oil painting have stood the test of time because they are lightweight and strong and when they have a smooth, hard surface they are a delight to paint with. You can buy a fully-finished palette or an un-finished one that simply requires you to add a few coats of oil to be ready to use. It is a simple process that transforms the wood, is an economical choice and a satisfying activity.
One of the advantages of a wooden palette is that it is lightweight compared to glass or a tear-off palette, so you can hold it at the easel if you wish to. It is also more rigid than a tear-off palette, so it doesn't bend when you press on it. Because the wood colour is mid-value you can see the values of both light and dark against it. A well-cared-for vintage palette is a beautiful thing. A well-used palette acquires a glass-like, smooth finish after many years of painting. The patina of many thin layers of oil will darken the wood slightly and there will be some paint staining to add to the history. If you take good care of your wooden palette will get better each time you use it.
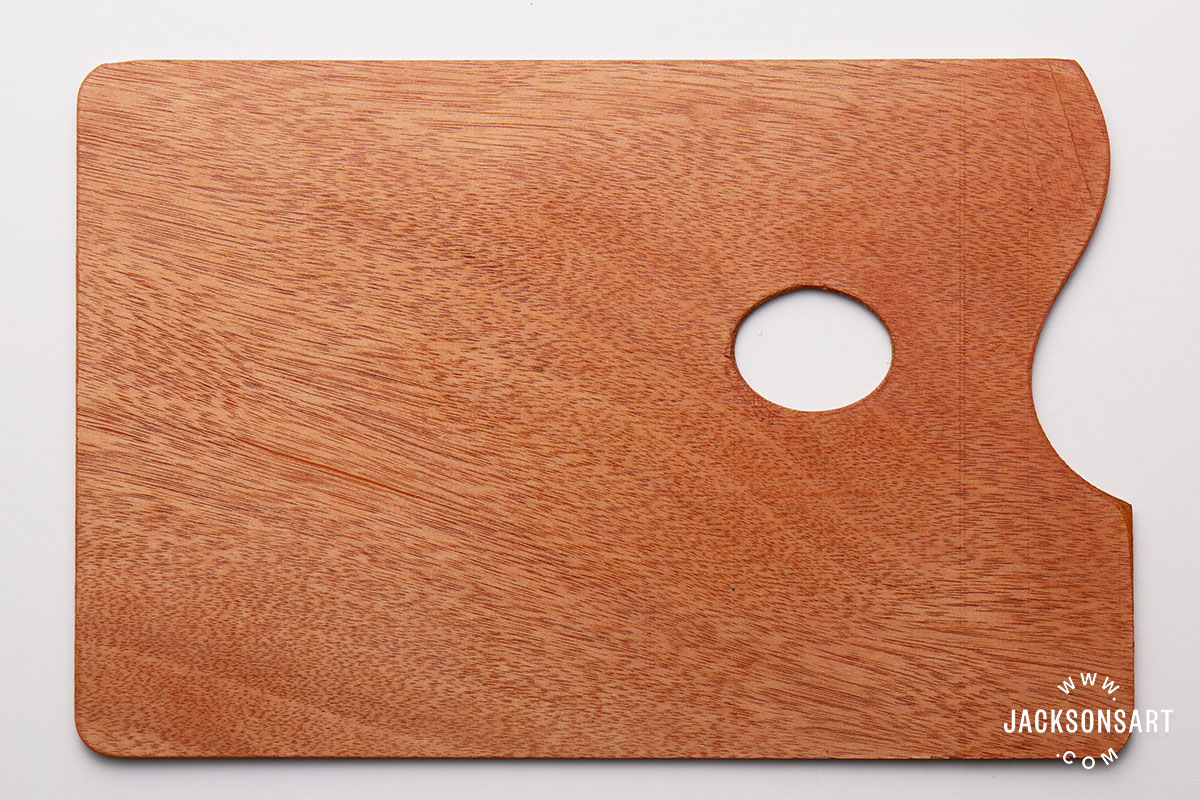
Conditioning a New Palette
To prepare your raw wood palette you can seal it with varnish or oil. Varnish can be partially removed each time you use solvent to clean your palette, so I recommend using oil. When it is dry it is quite hard. You will continue to build up layers of oil that condition your palette each time you use it. When you oil the surface of a wooden palette with a drying oil you are filling the little gaps in the grain of the wood. This creates a smooth surface so your brush hairs do not get trapped in the tiny grooves and get pulled and damaged. It also prevents the oil soaking out of the paints you put on your palette, so the paint sits on top and stays oily. A palette knife can scrape up bits of wood dust if the wood isn't finished, so adding a finish to your palette prevents that as well.
Drying oils are what are used to make oil paints – linseed, safflower, walnut, poppy – because in a week or so as they absorb oxygen from the air they harden (dry) to a glassy layer. Linseed is a great choice for finishing wood as it is the fastest drying of the drying oils, is the least expensive, most readily available, most flexible and gives a lovely golden glow to a wooden palette.
First, make sure the palette is clean and free from dust and you may wish to sand any rough areas or give it a quick sanding all over.
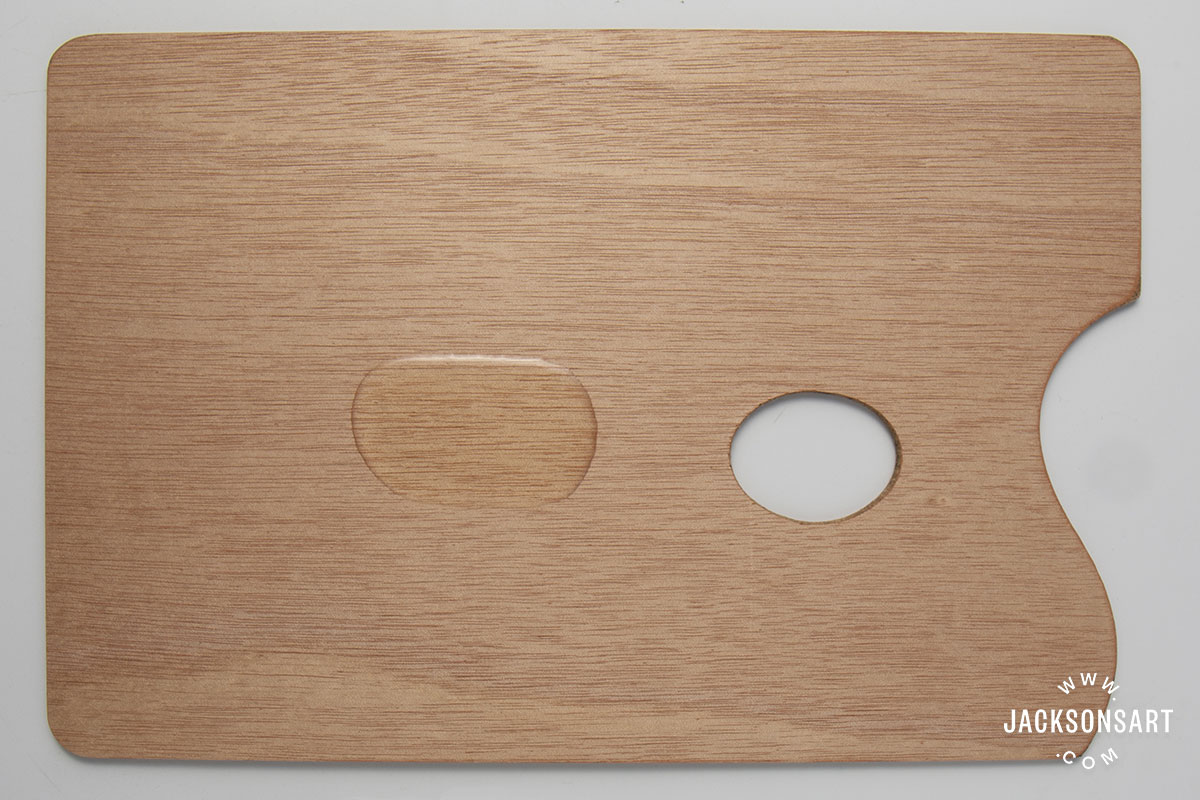
To begin oiling, pour a small pool of linseed oil (a teaspoon or two) in the centre of the palette and with a lint-free cloth (painting rag) rub the oil into the wood until the whole surface is coated and it won't absorb any more. Only leave on as much as it has absorbed, lightly wipe away the rest. I have tried leaving on a thicker layer thinking it would speed up the process, and it has backfired by wrinkling, leaving little lumps and remaining sticky for years (see the images below). So wipe on only what it will absorb. Wipe it around the edges as well.
Then find a place to lay it flat with the oil side up that is out of the way and protected from dust. I have a set of shelves with my bottles and cans of painting mediums where I slide it in to sit across the tops of the bottles pushed to the back, so it is protected from dust by the shelf above. Or lean it vertically against a wall with the wet side down, protected from dust, like you would a drying oil painting. Check it every few days, when it is touch dry you can repeat the process. Or do it every week on the same day of the week. It will take a few weeks to slowly build up thin layers of oil, but it takes just a minute each time to apply a coating. I do both sides because it helps to keep the wood from warping by having the same amount soaking into both sides.

left to right:
A palette with one coat, three coats and the final fifth coat of linseed oil.
To not be wasteful of rags or oil I reuse the same rag for the process. For safety, to prevent the not uncommon occurrence of spontaneous combustion of oily rags, I use a quite small cotton rag (4×4 inches) folded into a little pad and I save it next to the palette, open, draped over the oil bottle. A single, small oily rag left open flat is not a potential fire hazard like a large pile of oily rags in a furniture finishing factory is. The key is to not wad it up and trap air in the folds.
When your palette is fully finished it almost feels a shame to get paint on it! But the surface is now sealed from potential solvent and water damage, it cleans up easily and your brush will glide smoothly over the surface as you mix and pick up your paints. Many oil painters will already have an oil in the studio for making painting mediums or to thin paint. It doesn't take much oil or much time to finish a wooden palette yourself.
This can be done to unfinished wooden painting boxes, like our painting box as well. If you use one of these boxes as a pochade, oiling it also makes it seal much better so the paint on the palette inside is more likely to stay wet until next time.
Troubleshooting Images
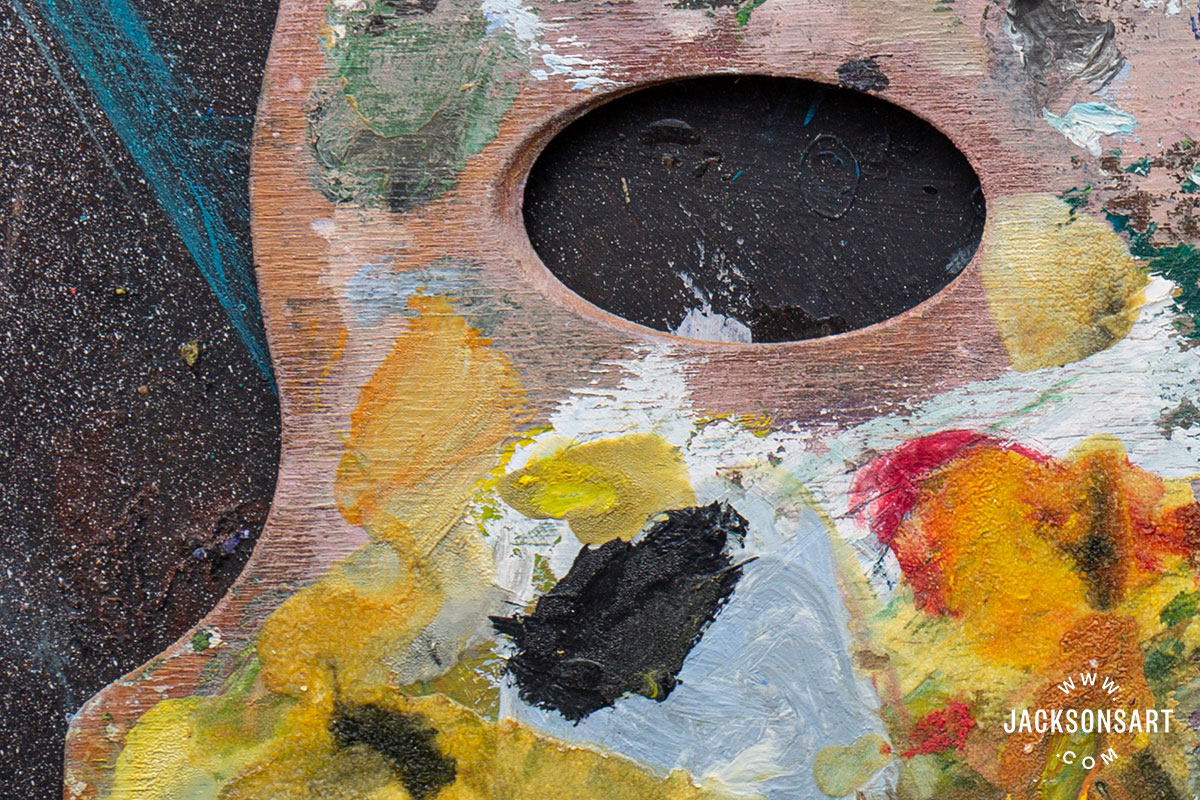
I have heard of painters giving up on wooden palettes because they didn't oil them and became frustrated with them. Here is an example of trying to use an un-oiled palette.
An un-oiled palette just gets drier and drier and is very hard to clean.
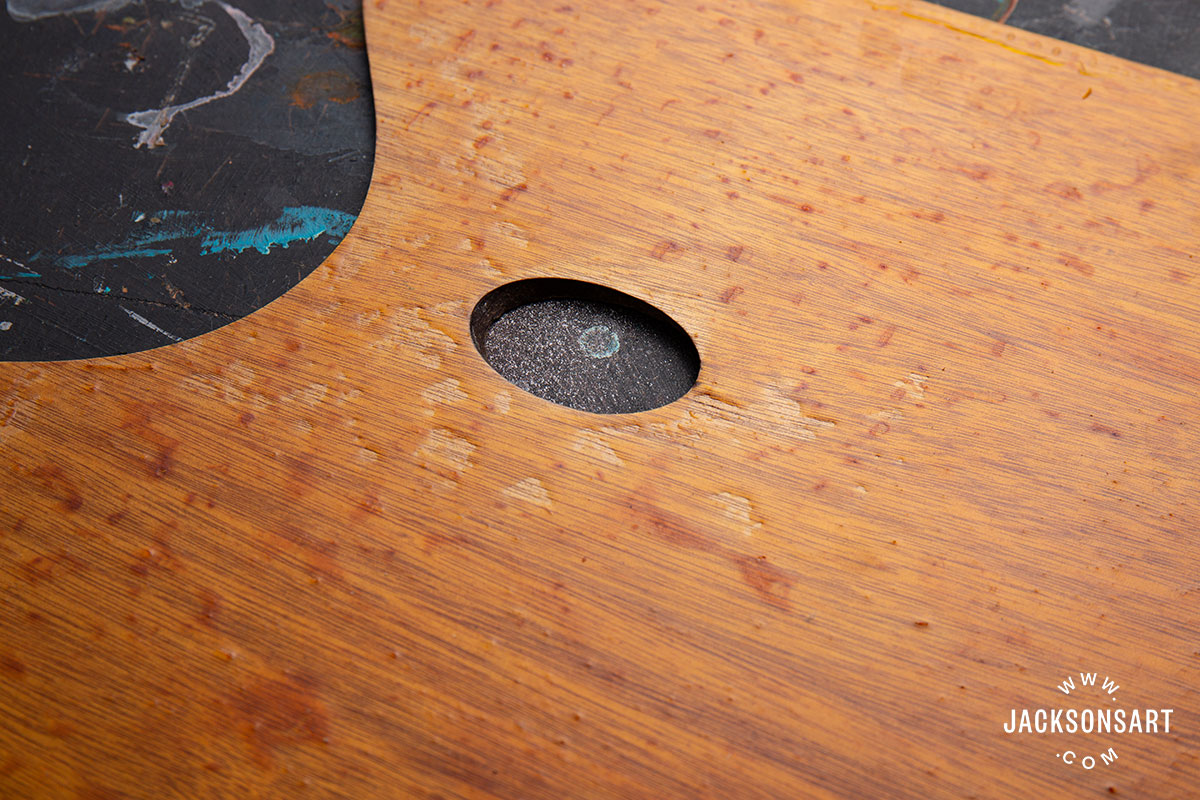
This is one consequence of trying to coat the palette in one go, instead of letting it absorb in layers. The palette is still sticky years later and the oil coating is not even.
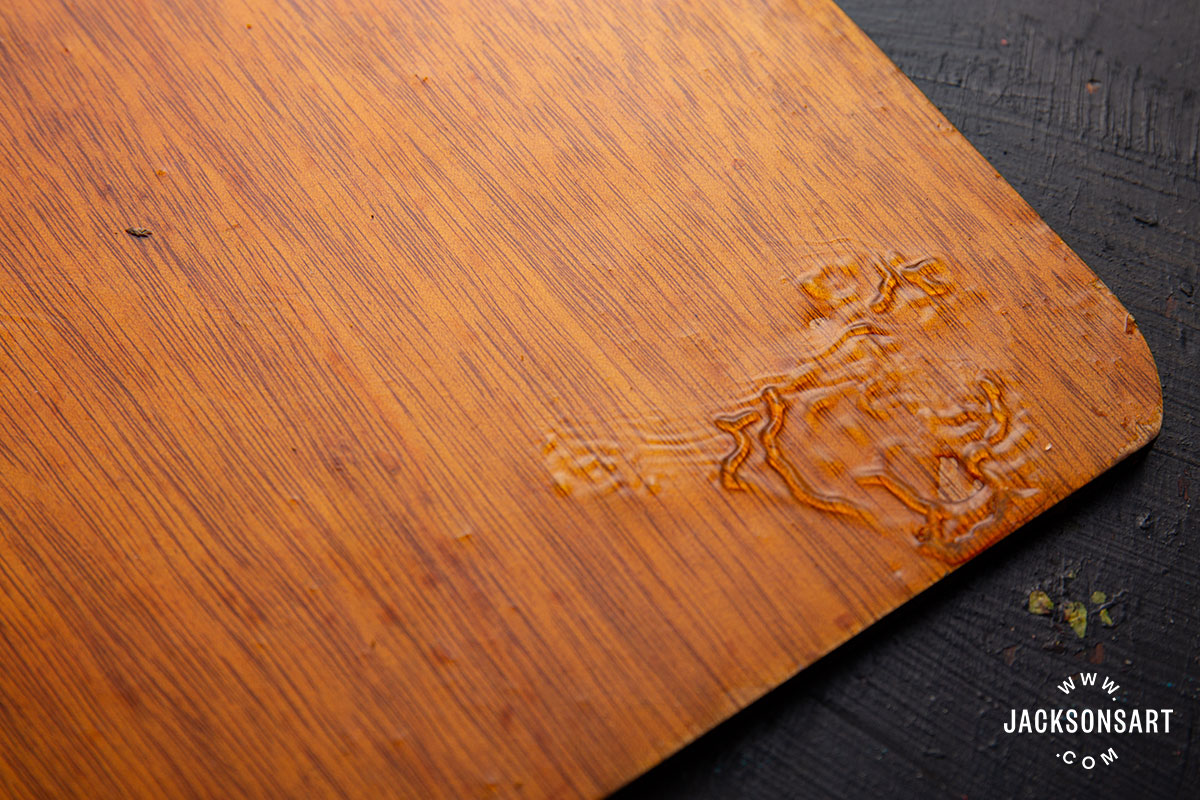
This shows another area of the thickly coated palette – the oil coating is not even and where it is especially thick it wrinkled as it dried.
Cleaning a Wooden Palette
The key to cleaning your palette is to not let any paint dry on it. At the end of a painting session, if you know you won't be back to paint for a few days, you should clean your whole palette so it is ready for next time. Leaving paint to harden on a wooden palette can damage it as you will need to do some heavy scraping and then you may need to sand and refinish the palette. If the paint is only partly dry you might be able to use solvent, a palette knife, and a metal scourer, slowly and gently so as not to gouge the surface.
If you are tempted to leave leftover paint on your palette because you don't want to waste it there are some studio habits that might work for you. Some artists make it a part of their practice to make a 'palette painting' at the end of a session, a quick, free painting that uses up all the leftover paint on the palette. These can be really interesting paintings. Some people scrape all the colours up with a palette knife into a 'palette grey' neutral colour mixture and use it to tone a canvas for next time. I have a small jam jar of 'palette grey' paint that I keep moist with a little oil. It's quite useful for greying out colours or as a base for chromatic greys. Or you can save your clean colours in small pots like these, where they will last a few days. Some artists leave a thin layer of the gray mixture on their palette to stain it as they are aiming to build up a mid-grey surface.
After you've removed most of the paint, then wipe the remains of paint off with a cloth or kitchen paper, wipe again with a solvent or an oil, then wipe it dry. After the scraping, wiping and especially if you have used solvent, the surface of the wood may be a bit dried out and it could use some oil – it's a good idea to give it a wipe with a drying oil at the end, to keep it conditioned. Each time you clean and oil your palette it adds to the condition. Over the years you will build up a lovely finish.

These have all been stained different colours by the paints used on them.
Wooden Palettes at Jackson's
- Some wooden palettes do not have a finish, so they are quite affordable.
Studio Essentials Wooden Palette rectangular – in two sizes - Some palettes that are already oiled could still benefit from an additional coat of oil. But it should be enough to oil the palette at the end of each painting session. Jakar Oiled Walnut Palettes
- Some palettes are fully-finished, but oiling at the end of the painting session will keep them in good condition. All the wooden palettes that are available at Jackson's.
Drying Oils at Jackson's.
The Oil Painting Department at Jackson's.
More Oil Painting Articles on the Blog
- Why is Oil Paint so Expensive?
- The Secrets Behind Jackon's Professional Oil Paint
- Jackson's Akoya Brushes – the Best Brushes Going
Julie was the editor of the Jackson's Art Blog for 10 years and now writes for the blog part time. With an encyclopaedic knowledge of art materials (majoring in oils and acrylics), she loves researching and writing pieces for the blog as she learns something new each time. Julie is also a professional artist who studied on the Turps Studio Painting Programme and Camberwell College of Art.
how to clean an oil painting
Source: https://www.jacksonsart.com/blog/2020/02/07/how-to-clean-and-condition-a-wooden-oil-painting-palette/
Posted by: yamadacouren.blogspot.com

0 Response to "how to clean an oil painting"
Post a Comment